For women with larger, heavier breasts or women with softer breast tissue that doesn’t tend to stay in place, we recommend that you measure yourself with a loose-fitting sleep bra on. This will help you achieve the most accurate measurement. If you have firmer breast tissue that doesn’t squish or wiggle very much, try measuring without a bra.
If you are not sure which method will provide the most accurate results for you, measure both ways and contact our sizing specialists for assistance!
STEP 2. MEASURE YOUR RIBCAGE
Your ribcage measurement is going to determine your band size.
Using a soft measuring tape, measure directly underneath your breasts, where your bra will comfortably sit. Keep the tape parallel to the ground and pull firmly.
Round this measurement to the nearest inch. For maximum band support, you should get the smallest band size possible, so if your measurement is at or below the ½ inch mark, round down instead of up. Whatever you do, NEVER ADD INCHES to your original measurement, as many others will recommend. Remember, 80% of your bra’s support should come from the band and only 20% from the straps.
STEP 3. MEASURE YOUR BUST LINE
Measure across your nipples at the widest part of your breasts. Make sure the measuring tape is parallel to the ground. Never measure under your armpits or over the tops of your breasts, as others may recommend. This is a tactic to add extra inches without telling you to do so.
Pull until the measuring tape is snug but not tight. You’ll need enough room in the cups so that your breasts don’t overflow. If you land between two numbers, always round up.
STEP 4. CALCULATE YOUR SIZE
Subtract your band measurement (Step 2) from your bust measurement (Step 3). Then use the chart below to determine your cup size. Be sure to read on to see our tips and tricks for ensuring a perfect fit.
Again, these measurements are just a starting point. There’s so much more that should be considered before you purchase.
|
US Cup Size |
UK Cup Size |
EU Cup Size |
| 1" |
A |
A |
A |
| 2" |
B |
B |
B |
| 3" |
C |
C |
C |
| 4" |
D |
D |
D |
| 5" |
DD or E |
DD |
E |
| 6" |
DDD or F |
E |
F |
| 7" |
G |
F |
G |
| 8" |
H |
FF |
H |
| 9" |
I |
G |
I |
| 10" |
J |
GG |
J |
| 11" |
K |
H |
K |
| 12" |
L |
HH |
L |
| 13" |
M |
J |
M |
| 14" |
N |
JJ |
N |
| 15" |
O |
K |
O |
| 16" |
P |
KK |
P |
UNDERSTANDING HOW A BRA SHOULD FIT:
A properly fitted bra will be centered across the back with the straps adjusted up half way up your back or as high as the tops of the shoulders. Most of your support should come from your band, not your straps, but they do play an important role in comfort and shaping.
Your band is too big if:
-
The straps slide off your shoulders
-
The band rides up in the back
-
The band is pulled down low on the back and the straps cannot be tightened without causing the band to ride up
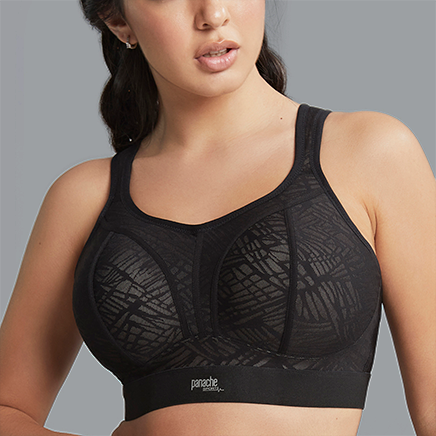
The proper cup size, with a snug band and tightened straps, will lift the breasts to create a full, rounded look. The cups should be large enough for the underwires to extend to the back of your armpits to allow for complete containment of your breast tissue. That includes all of the tissue under your arms and towards your back. (Yes, that’s all breast tissue!) In addition, the band must be snug enough to keep your breasts, including all of your side tissue, contained in the forward position.
The cups are too small if:
-
Your breasts are popping out, causing “muffin tops”
-
The underwire is pressing into your breasts, causing discomfort
-
Your breast tissue hangs out the bottom when you lift your arms
The band should be snug enough around your ribcage to support the weight of your breasts. The underwire should rest where the bottom of your breasts meet your ribcage and extend to the back of your armpit area. The center gore should lie flat against your chest.
Your fit is also incorrect if:
-
The entire weight of your breasts, or at least most of it, is on the shoulder straps.
-
The underwire is pushed away from your body instead of lying flush against your sternum.

If you're experiencing any of the above issues, it may be time to get resized! A proper fit will contain your breasts and relieve your shoulders of unneeded pressure.
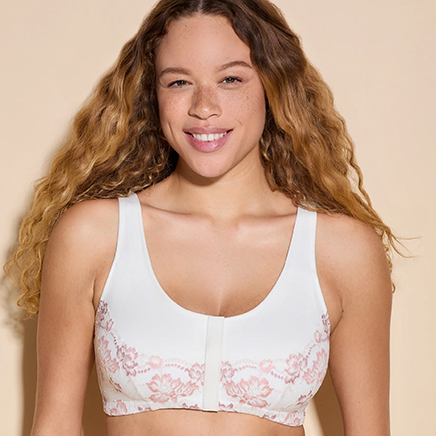
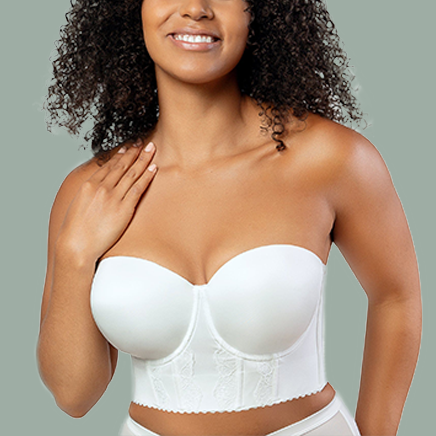
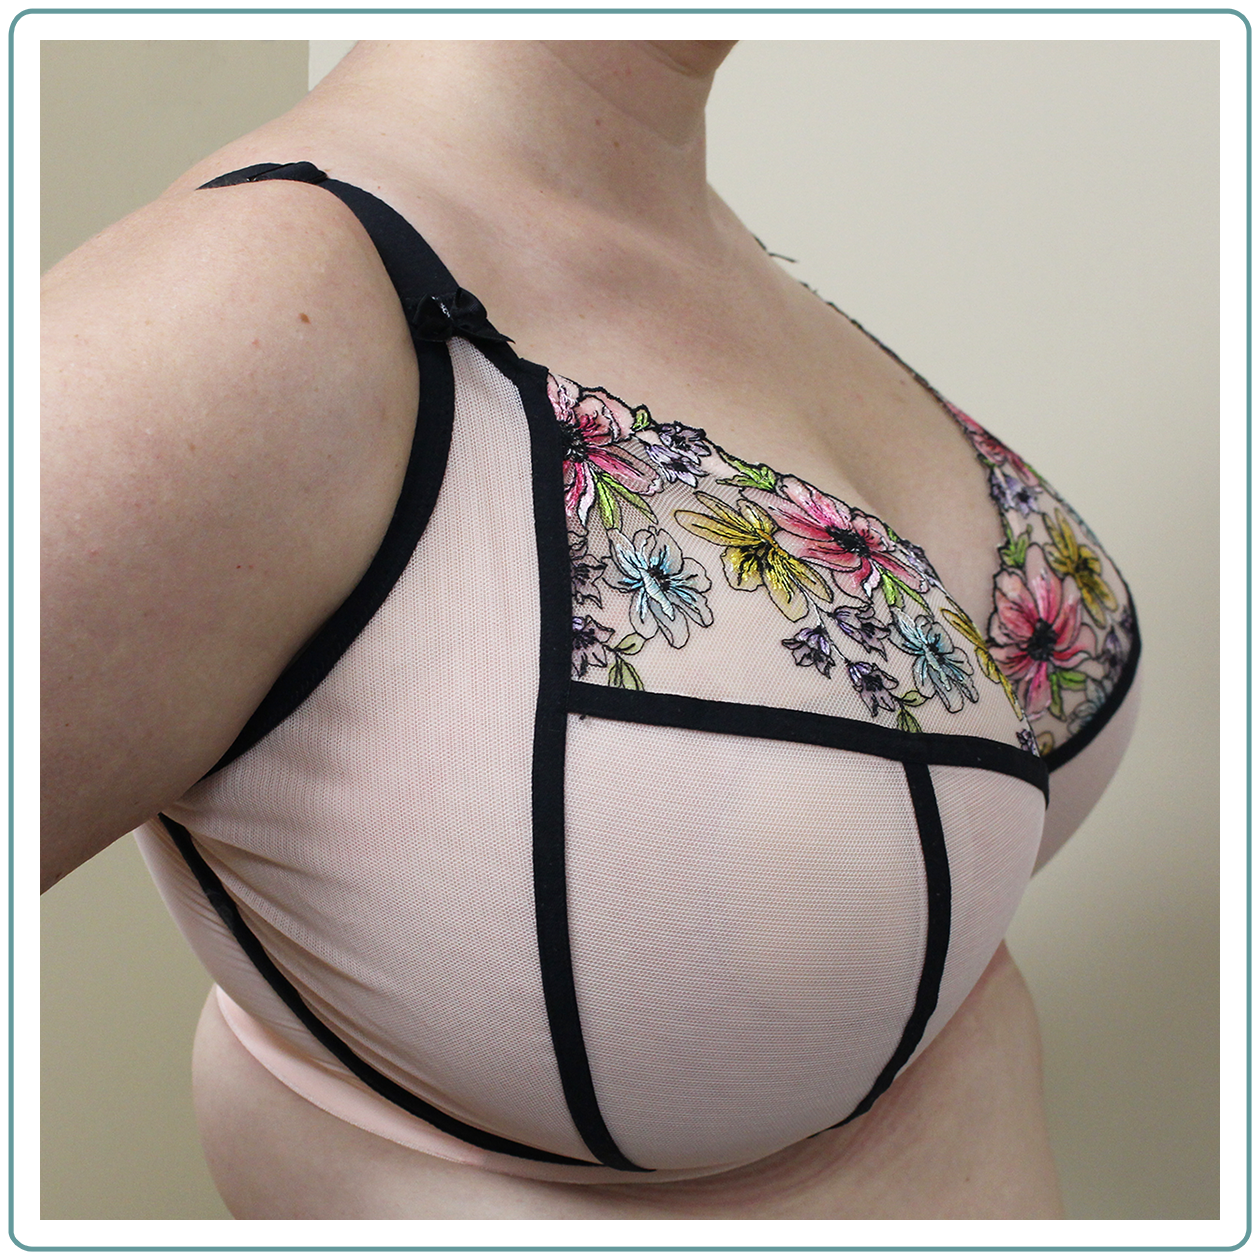
A correctly fitted bra will fit like this:
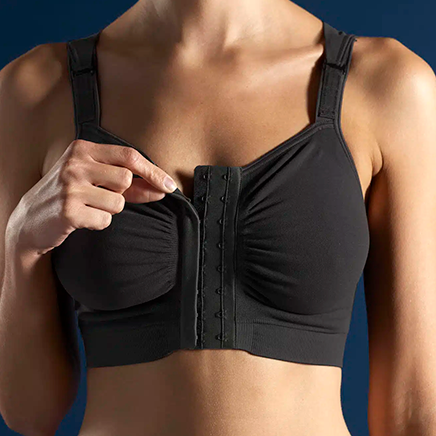
HOW TO PUT ON YOUR BRAS TO MAKE THEM LAST
It’s tempting to hook your bra in front of you and twist it around to the proper position, but doing so can cause several problems. All that twisting and flipping can warp or break your bra’s underwires, or even push them through the fabric. It also stretches the elastic in the band, making your bra less supportive over time.
To maintain the maximum amount of support and extend the life of your bra, we recommend trying the following steps:
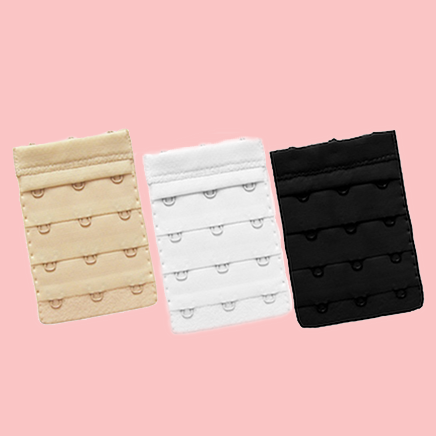
STEP 1) FASTEN THE HOOKS
Place the underwire under your breasts, where they meet your ribcage.
PRO TIP: Do NOT put your arms in the straps until Step 2. This is key to getting the bra on by yourself.
Pull the band down and hook it on your mid-to-lower back, where you can reach it, and then slowly pull the band up underneath your breasts. A new bra should fit snugly on the loosest set of hooks. You can tighten the hooks as you break in the bra, maximizing its lifespan.

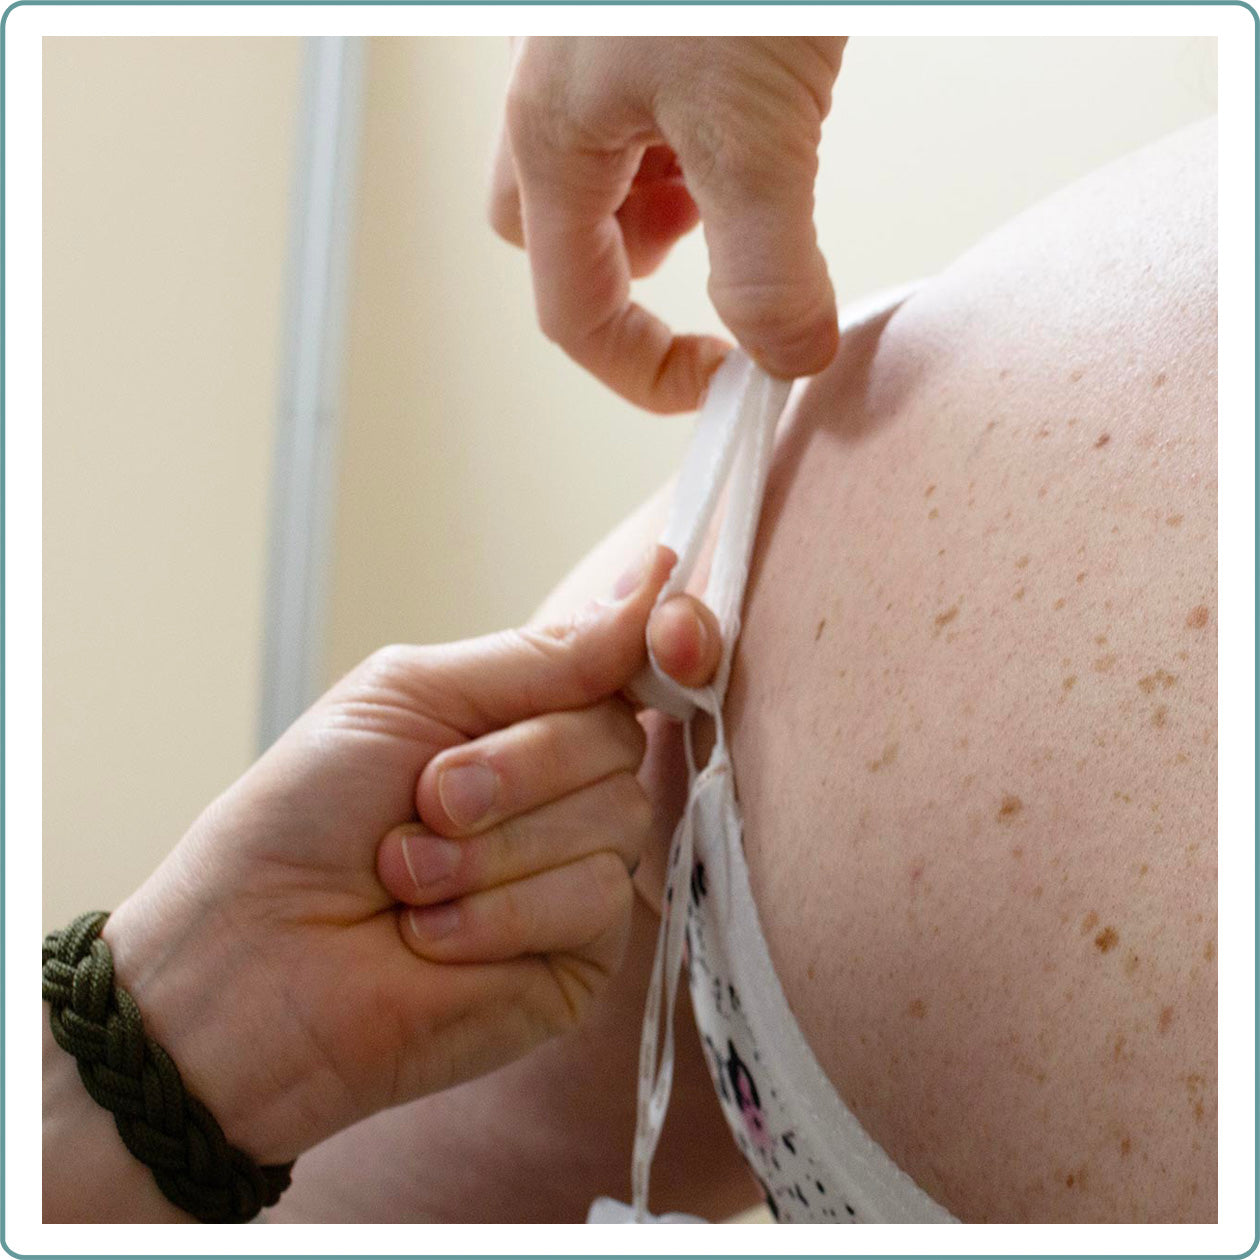
STEP 2) ADJUST THE STRAPS
Put your arms through the straps and tighten them to your desired fit. Properly tightened straps will shape the upper part of your breasts, creating a smooth, rounded profile.
Keep in mind that 80% of your support comes from the band, not the straps. Although your straps should fit snugly, you should not feel like your breasts are hanging from your shoulders.

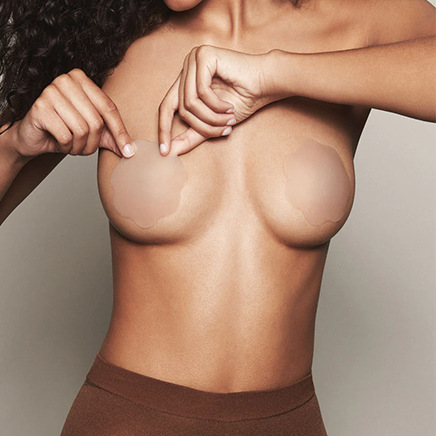
STEP 3) DO THE SCOOP
Be sure the underwire is directly under your breasts, where they meet the ribcage. Then place the thumb of the side you're adjusting on the underwire to hold it in place. Reach across your body with your opposite hand and scoop your breast tissue in from the side to move it forward into the cup.
PRO TIP: Be sure to go past the back underwire when scooping in. Just grab everything you can and pull it forward. The more you can scoop in, the better your bra will fit, feel, and look.
FINISHED!

A properly fitted bra will give you well-rounded, nicely shaped, and lifted breasts. Your clothes will look and fit much better, too.
Using this method every time you put on your bra will help your garment last and deliver great support for as long as possible. You should also follow the recommended product care instructions when washing and drying your intimates. Treat your bras right, and they will return the favor!